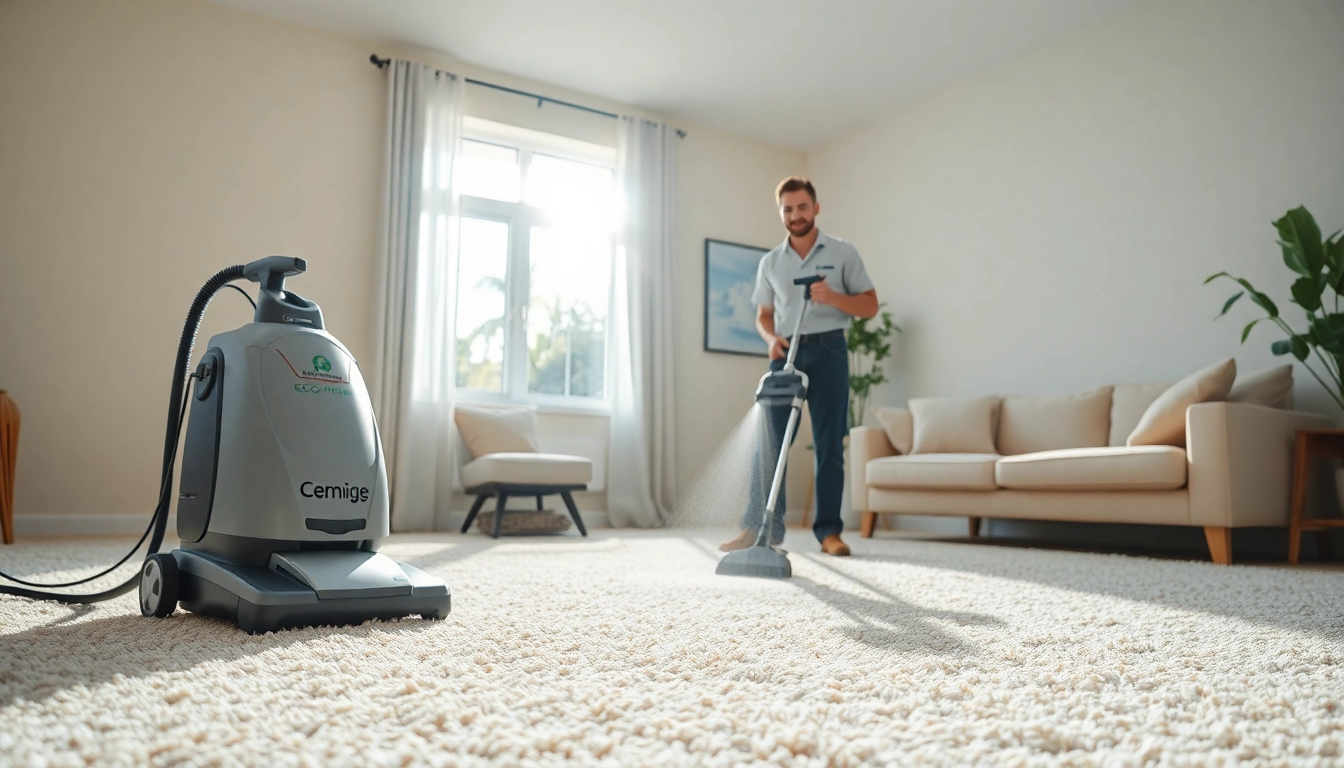
Understanding Vapor Barrier Installation
What is a Vapor Barrier?
A vapor barrier is a material used to prevent moisture from entering a space. Typically installed in crawl spaces or basements, its primary role is to protect structures from the damaging effects of humidity and condensation. Vapor barriers are made from various materials, including polyethylene plastic sheeting, foil-faced paper, or other moisture-resistant films, effectively stopping moisture from the ground surpassing through to the living areas above. By inhibiting moisture infiltration, they help maintain a dry environment, thus contributing to healthier indoor air quality and enhancing overall home stability.
Importance of Vapor Barrier Installation
Installing a vapor barrier is crucial for several reasons. Firstly, it helps prevent mold growth, which can thrive in damp conditions and lead to serious health risks. Secondly, it can protect wooden structures from rot and degradation that moisture exposure can cause. Thirdly, a proper vapor barrier can improve energy efficiency by reducing the amount of humidity entering the home, thereby lowering heating and cooling costs. For comprehensive insights and guidance on Vapor Barrier Installation, understanding the installation process is essential.
Common Materials Used
The choice of materials for a vapor barrier significantly impacts its effectiveness. Some of the most commonly used materials include:
- Polyethylene Sheeting: This is the most popular choice, often available in varying thicknesses (6 to 20 mil). It is durable and relatively easy to install.
- Foil-Faced Insulation: Provides dual benefits of insulation and vapor resistance, suitable for climates with extreme temperatures.
- Rubberized Asphalt: A robust option favored in industrial applications due to its high strength and adaptability to various conditions.
Preparing for Vapor Barrier Installation
Assessing Crawl Space Conditions
Before beginning the installation of a vapor barrier, it is crucial to assess the conditions of the crawl space. Look for signs of existing moisture, such as water stains, mold growth, and unpleasant odors. Check for adequate drainage and ventilation, which can significantly influence moisture levels. By identifying potential problem areas, you can address them – whether through drainage improvements or insulation – before the installation takes place. Furthermore, ensure that the crawl space is clear of debris and that any plumbing leaks have been fixed, as this will set a solid foundation for the vapor barrier.
Gathering Necessary Tools
Having the right tools on hand is essential for a successful vapor barrier installation. The basic tools required include:
- Measuring tape
- Utility knife for cutting materials
- Stapler or adhesive for securing the barrier
- Heavy-duty gloves and safety glasses
- Optional: Additional tools for drainage improvements, such as a shovel or trowel
Safety Considerations to Keep in Mind
Safety should always be a priority when working in crawl spaces. Ensure proper ventilation to avoid inhaling harmful substances, especially if you encounter mold. Use gloves and a mask to protect against potential irritants. If working with a foil barrier, be cautious of sharp edges during installation. Lastly, if the crawl space has any structural concerns, consider consulting a professional for safety and compliance.
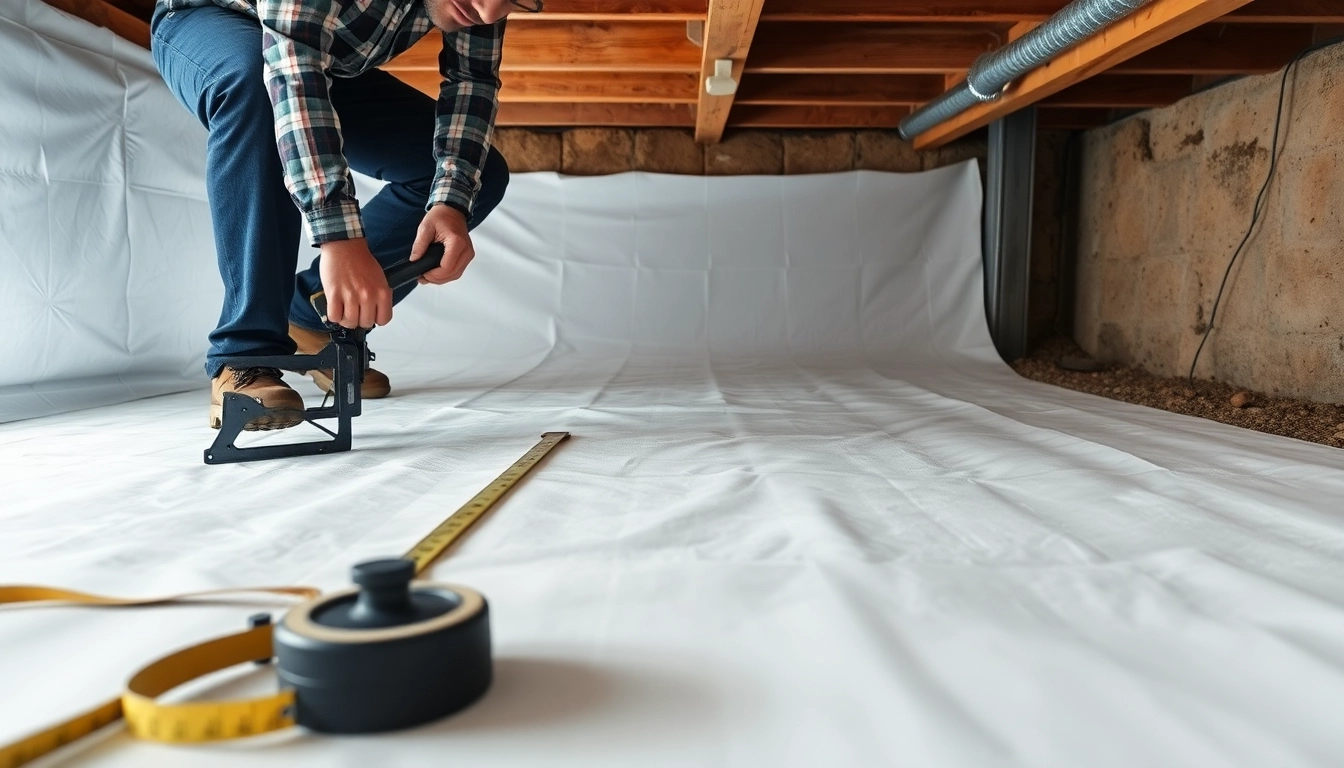
Step-by-Step Vapor Barrier Installation Guide
Preparing the Area
To kick off the installation, clear the crawl space of any debris, dirt, or items that could hinder the barrier’s placement. It may be beneficial to start with a thorough cleaning and make necessary repairs to the foundation or flooring if needed. This step ensures a smooth surface for the vapor barrier.
Choosing the Right Installation Technique
There are several methods for installing a vapor barrier, often dependent on the crawl space’s unique conditions:
- Flat Installation: Lay the barrier flat on the ground, overlapping seams by at least 12 inches. Tape the seams securely to prevent moisture ingress.
- Wall Installation: Extend the barrier up to the foundation walls, securing it in place with a staple gun or adhesive. This method is particularly useful in high moisture areas.
- Full Encapsulation: In some cases, homeowners might opt for a complete encapsulation of the crawl space. This involves lining the walls, floors, and even the piers of the home with a vapor barrier, offering enhanced protection from moisture.
Tips for Achieving Proper Sealing
Ensuring a proper seal is vital in vapor barrier effectiveness. Make sure to:
- Use high-quality tape specifically designed for vapor barriers to seal all overlaps.
- Check that the material is stretched tight, without any folds or creases that moisture could exploit.
- Seal around any pipes or conduits that penetrate the barrier to maintain an uninterrupted vapor seal.
Common Mistakes in Vapor Barrier Installation
Overlooking Moisture Sources
One of the most significant errors homeowners make is failing to address moisture sources before installing a vapor barrier. Factors such as groundwater or plumbing leaks can defeat the purpose of the barrier if not resolved prior to installation.
Poor Material Selection
Choosing inadequate materials for specific climates can lead to premature failure of the vapor barrier. For example, a thin polyethylene may not suffice in extremely wet areas. Always opt for a material that suits your geographic moisture conditions.
Neglecting Maintenance Post-Installation
Even a well-installed vapor barrier needs periodic maintenance checks. Homeowners often neglect to inspect for damage due to pests or environmental factors. Regular assessment ensures the longevity and effectiveness of the barrier.
FAQs About Vapor Barrier Installation
How long does vapor barrier last?
A properly installed vapor barrier can last over 20 years if maintained, based on materials and conditions.
Can I install a vapor barrier myself?
Yes, DIY installation is possible, but ensure you follow guidelines for safety and effectiveness.
Do I need a vapor barrier in my climate?
Many climates benefit from a vapor barrier to prevent moisture issues, but local conditions should be assessed.
How much does vapor barrier installation cost?
Costs vary widely, typically ranging from $0.50 to $2.00 per square foot depending on materials and labor.
Are there alternatives to a vapor barrier?
Alternatives include proper ventilation, dehumidifiers, and drainage systems, but they may not fully replace a barrier.